I followed the tutorial at http://www.puffle.co.uk/software/3DSMaxTyreTutorial.pdf
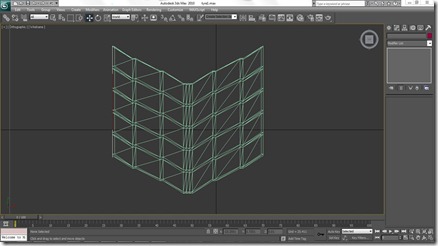
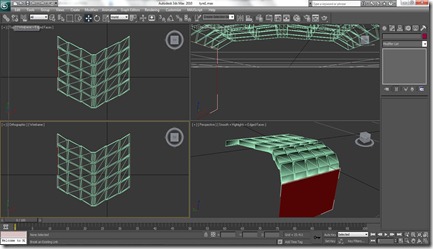
I started out using a Quad patch, end using the edit patch modifier to alter the position of the vertices. I created the grooves first, by selecting the rows/columns and altering the transform position.
Next I lowered the middle sections to give the tyre tread shape.
After this, I selected the inner patches and extruded them to make it 3D. I then lowered each side and added a quad patch to start forming the sides of the tyre.
I used the FFD (box) modifier to make it curve slightly, and pulled out a vertex to create a lip on the inner rim. I mirrored and cloned this to the other side to create the first tyre segment and used the boolean tool to join all of the pieces together.
After this, I cloned the piece till I had 10, and used boolean to attach them all together.
I used a bend modifier to create the full tyre shape.
I needed to create a centre for the tyre, so I used a cylinder and set it at the edge of the inner rim. I cloned this and the tyre was complete.


No comments:
Post a Comment